For up-to-date video tutorials, checkout the video section on our Facebook page.
Getting Started tutorials
Website Building tutorials
Baskets
Payment Gateways are a new addition for our Silver tier subscribers. Even though all subscribers are able to configure any payment gateways, only Silver and higher tier subscribers or higher are able to take advantage of this feature.
Silver tier enables invoicing capabilities and the Gold tier enables eCommercc (online store) capabilities.
Currently, Stripe, PayPal, and Square are supported for integration with TrueIMS.
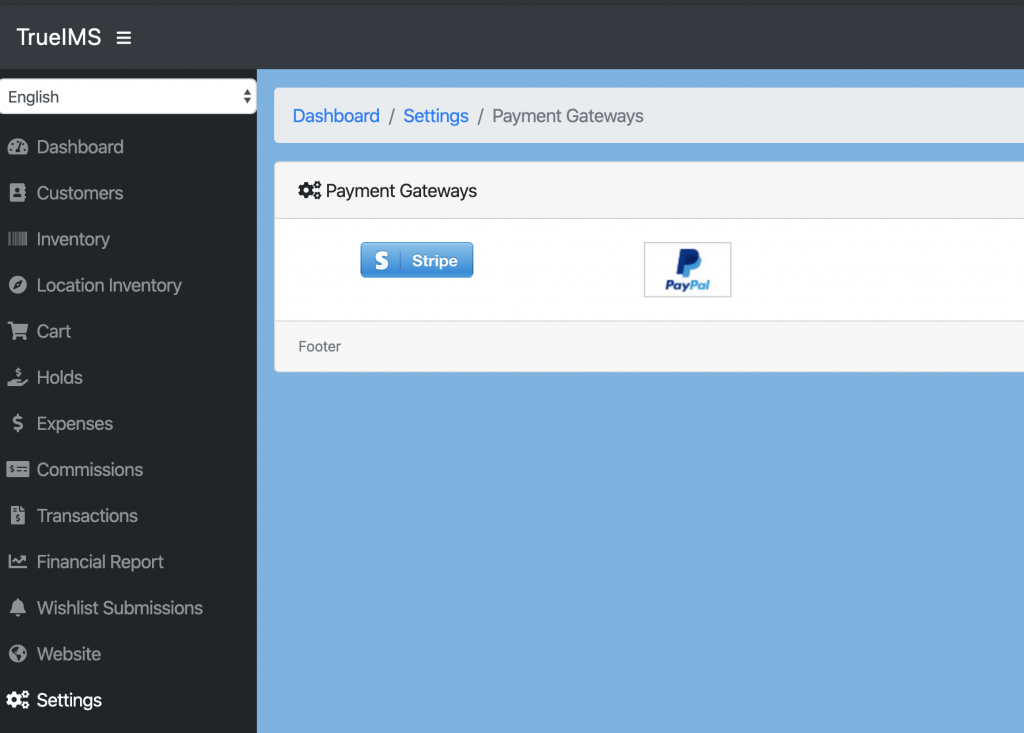
To configure a payment gateway, go to Settings -> Payment Gateways.
Click on the name of the gateway that you would like to configure, followed by clicking on the “Connect to gateway” button for your payment gateway of choice. Follow the gateway specific on-screen instructions.
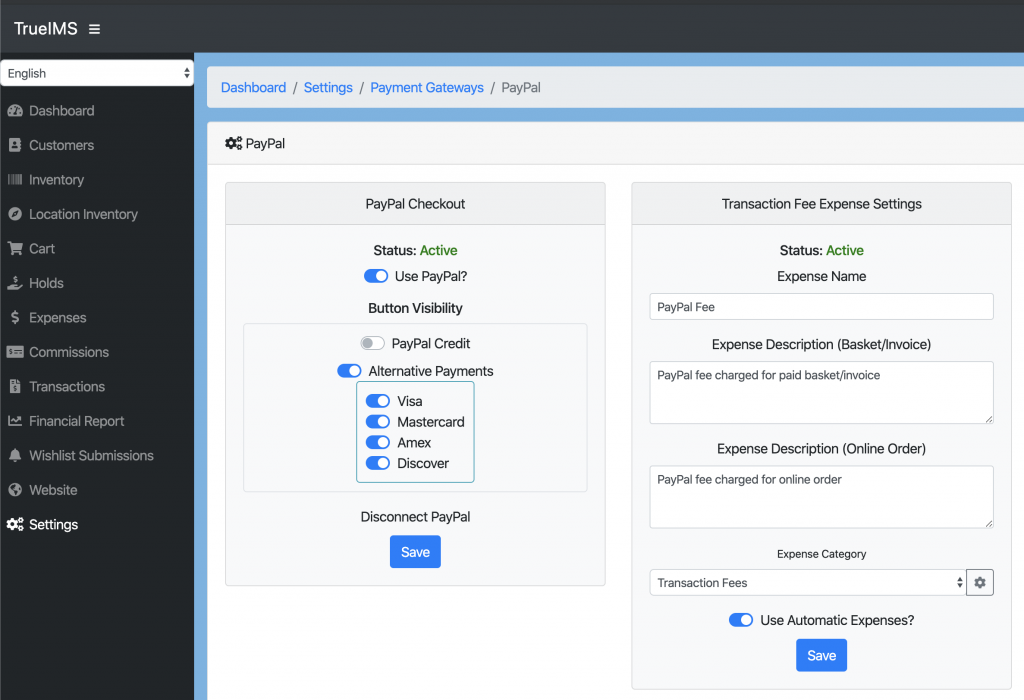
Once connected, TrueIMS may give additional options to configure, depending on the gateway.
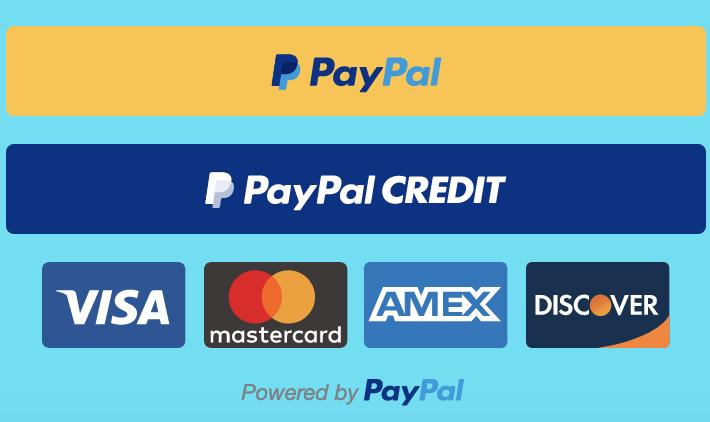
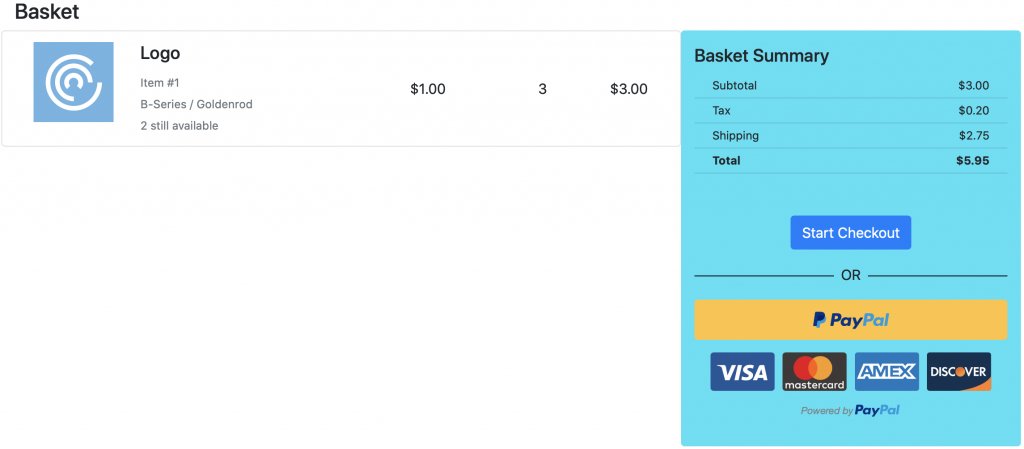
PayPal will display Smart Buttons based on your PayPal merchant settings that will look like the buttons below:
All buttons will be enabled by default, however, you are able to disable any one of these buttons from within the PayPal settings.
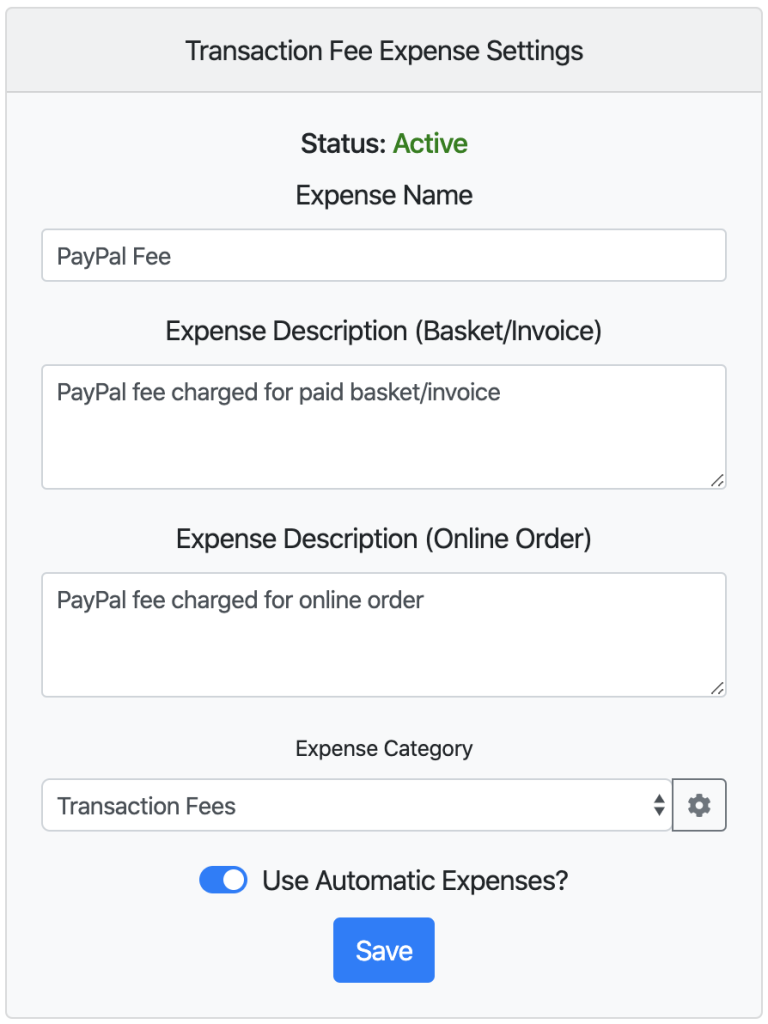
TrueIMS is able to automatically expense any transaction fee incurred through a payment gateways. This feature is enabled by default, but may need additional configuration.
These settings can be found under each Payment Gateway’s own settings and will look like the image below:
On your screen, you will notice that there is no expense category configured. You may change this by clicking on the gear icon.
All subscription tiers are able to provide a link to their customers to enable access to the contents of their basket.
To create this link, a transaction hold will need to be created first. Once create, click on “Holds” from the left-side menu to view your holds.
Clicking on the link icon shown above will bring up a small window containing the hold’s basket link.
This link can be shared with the customer, therefore, any updates made to the hold, such as additional items added or removed, applicable shipping costs and taxes will be reflected real time for the customer.
Once a basket is ready to be invoiced, meaning no more items will be added and applicable shipping costs, taxes, and discounts have been applied, the hold can be finalized.
Finalized holds can no longer be edited and it will no longer display an estimated total message when the customer accesses their basket link.
A hold can be finalized by clicking on the lock icon from the holds screen.
Once finalized, the hold for the customer will change color depending on its final status.
If a hold does require a change, a finalization can be removed by clicking on the open lock icon.
With the Silver tier subscription and the addition of payment gateways, we introduce the ability to invoice directly from the basket links.
In order for a basket link to include payment options, a payment gateway has to be configured and the basket finalized.
Once these requirements are met, the basket link will automatically populate the payment options.
Once a customer has paid the invoice, the transaction hold will automatically turn into a processed transaction with the status showing “captured”. A status of “captured” means a successful transfer of funds has occurred.
If automatic recording of transactions fees has also been configured, the system will capture the processing fees for that transaction as an expense.
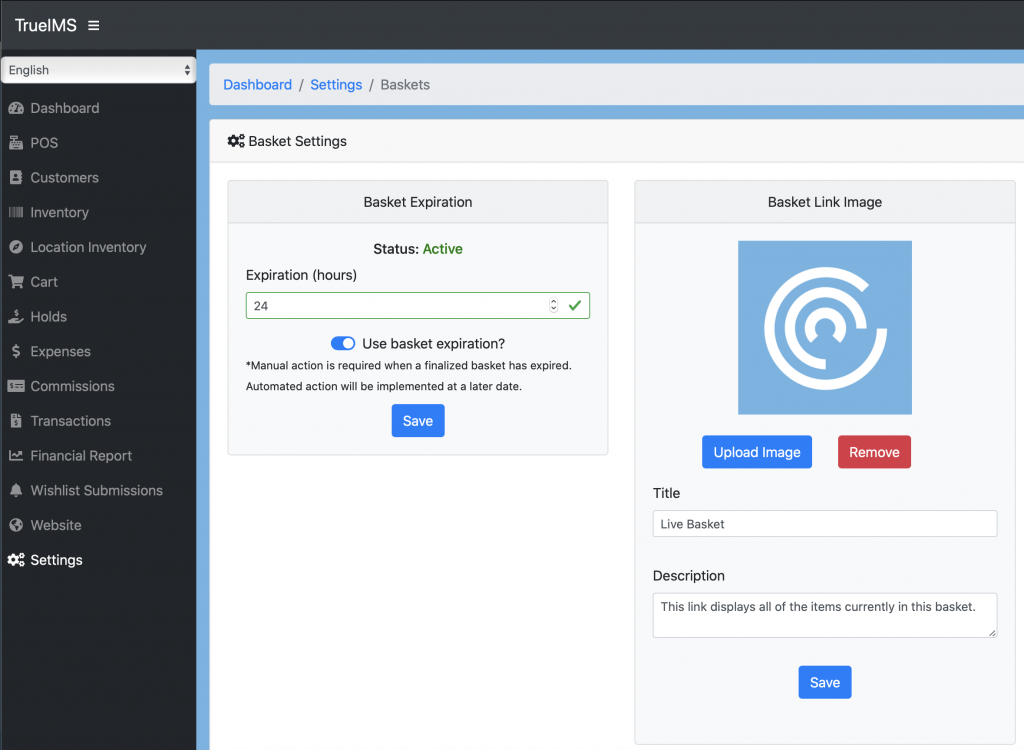
A highly sought after feature, is the ability to impose a time limit for the purchase of items in a basket. A timer can be configured according to user preference and is recording in hours until expiration. This is a global setting that will apply to all baskets.
The timer can be configured in the Basket settings, which can be found by clicking on “Settings” -> Baskets.
After enabling a basket timer, a few extra icons will be shown for finalized holds.
You will also notice that the hold color has changed to orange, indicating that a timer has been activated.
Note: Once a timer for a basket expires, the color will change to red and the customer will no longer be able to access their basket. Instead, the customer will see a message stating that their basket has been removed.
Baskets are not automatically removed. Reactivation of the timer, re-enabling access to a basket, or removal of a basket is entirely at the discretion of the user.
Website Builder
To add a link to your header, we first need to open the header in the website builder. This can be done by clicking on the header's edit icon.
Once the header is loaded, ensure you are on the Blocks pane by clicking on the Blocks icon at the top right side of the screen.
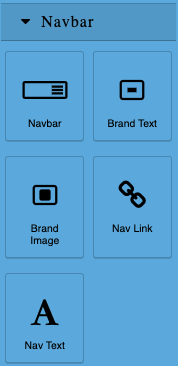
Within this pane are several block categories. The one we are interested in is called Navbar. If it I not shown, scroll down on this pane until it becomes visible.
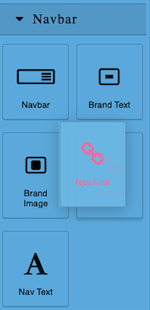
From here, we click & drag the Nav Link block and place it next to the Contact Us link that already exists in the navigation bar.
We now have a new link in the header, but it is not functional yet. Click once on the new link so that it is selected.
Once selected, click on the Edit (Brush) icon at the top right of the screen to open the styling pane.
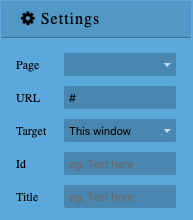
On the styling pane there will be a category called Settings. If no inputs are shown, click on Settings to display the Setting inputs.
There are two different ways to choose how we want to link this navigation link to another page.
#1 Link to a page hosted on TrueIMS
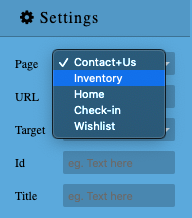
The first way is to link it to a page that is hosted on TrueIMS. To do this, click on the Page icon and select the page that you want to link it to from the dropdown list.
The builder will then automatically enter the URL field for you and you have now successfully added a link that will go to one of your own pages.
#2 Link to a page hosted elsewhere
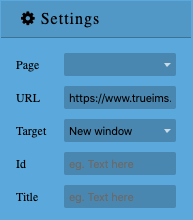
To add a link to an external page, you can simply enter the address into the URL field, replacing the # with the actual address.
NOTE: It is important to include the http:// or https:// prefix, or the link will not work properly.
Finally, it is common procedure to open external links in their own tabs so that visitors may easily come back to your website. This can be done by changing the value of Target from This window to New window. Below is an image of how the finished settings could look.
Payment Gateways
TrueIMS has partnered with Sezzle to provide a unique, Buy now, Pay later payment integration. We have setup a dedicated page on how to get started here.
